14 Simple Halloween Decor Ideas You Can Reuse for Years – Indoor and Outdoor
If you want halloween decor that still looks good on November 1 instead of sitting in a trash bag, the trick is to choose things that aren’t only about Halloween.
In this post I’m sharing 14 indoor and outdoor ideas that cost very little, store flat, and come back out every October.
How much of your halloween decor actually survives until next year?
Here in Hungary that’s quite a new question. Halloween isn’t a traditional holiday for us at all, it only started spreading in the last few years.
Now there are children on the streets at the end of October collecting candy, and more of them every season.
In the garden house districts of Budapest, where we live, the decorating is still mostly one thing. A carved pumpkin on the gatepost with a tealight inside, glowing after dark.
Then last year we went to New York with my family, and around the West Village I saw properly decorated houses for the first time in my life. I walked up and down those streets looking at the doorways like a tourist, which I was.

The amount surprised me far less than the age of it. Almost nothing on those steps looked like it had been bought that week.
So I came home with 3 questions I now ask before anything comes into the house.
- Can I store it flat?
- Will it still look right in 5 years?
- Can I use it for something that isn’t Halloween?
That’s the whole system, and it keeps October cheap.
If you take one thing from this post, take this one: stay inside black, cream and natural wood, let the pumpkins bring the orange, and everything you own will keep working together for years.
You will find in this article
- 7 indoor halloween decor ideas that fit into a single box when the season is over, plus
- 7 outdoor halloween decor ideas for the porch, the path and the front door
After the list comes
- the honest part,
- the color pairs that actually work,
- the mistakes that cost the most money,
- a saveable checklist, and
- a long question and answer section.
Look at the Halloween decorations you already own and count the ones you’d still want out on the table in 5 years. That’s the only question I ask in a shop now, and it takes about 2 seconds per object.
Indoor Halloween Decor Ideas That Fit in One Box
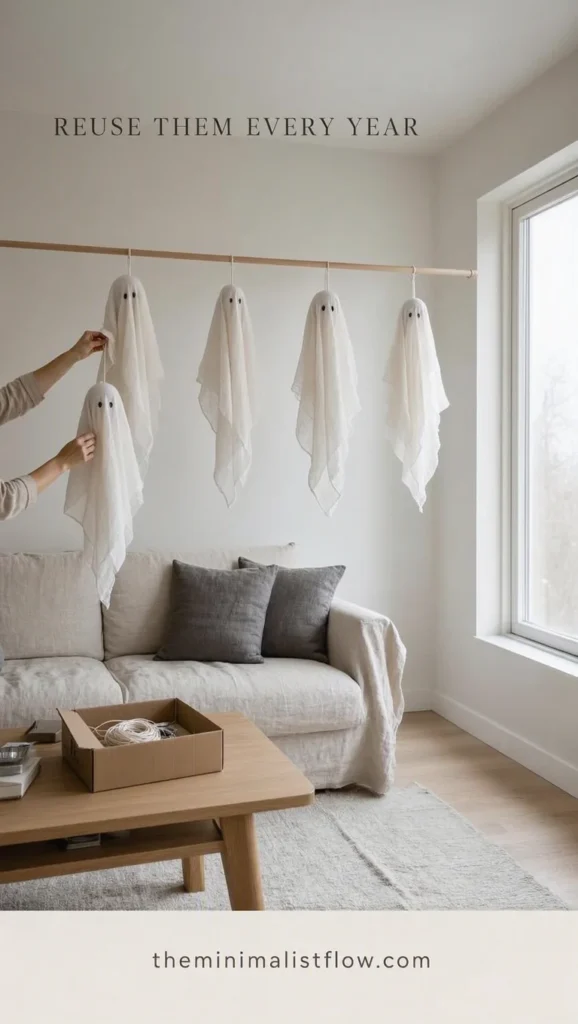
1. Turn cheesecloth into ghosts that fold into a shoebox
What you need: cheesecloth, a small balloon, watered down white glue, a black marker.
Blow up the balloon, sit it on a bottle, drape the wet cheesecloth over it and leave it overnight. In the morning you pop the balloon and the ghost holds its own shape.
My little daughter (6) does the draping. My son says he’s far too old for this… lol. 🙂
They’re friendly rather than frightening, which matters in a house with a 6 year old who still checks under the bed. Two dots for eyes is enough.
And they weigh nothing. Ours fold flat into a shoebox that lives on top of the wardrobe for the rest of the year.
A pack of grade 90 cheesecloth costs a few dollars and makes around 6 ghosts, so this is the cheapest thing on the whole list.
Hang them at 3 different heights from a curtain rod so they look like they’re floating.
2. Group real pumpkins on a wooden board and eat them afterward
What you need: 3 to 5 pumpkins in different sizes, a wooden board or a tray.
This is the least effort and the best result of anything I’ve tried. Put the board on the table, group the pumpkins in odd numbers, done.
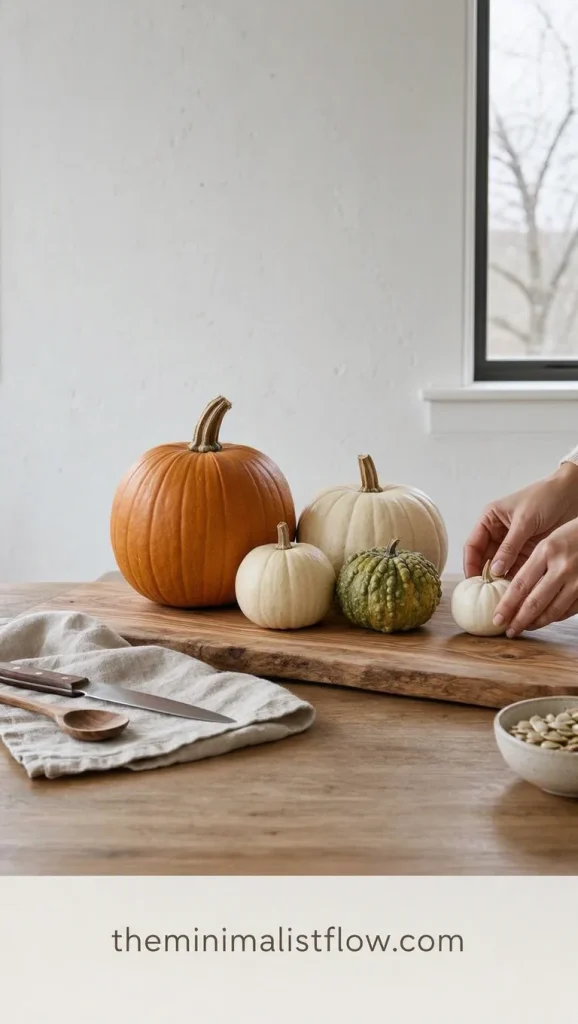
Buy them uncarved and they’ll last from the end of September to well past Halloween. Carved ones start collapsing in about 5 days.
Then you cook them. Soup, roasted with garlic, or a pie if your family likes it, and the seeds go in the oven with salt.
This one matters more than it looks. Roughly 15 million pumpkins get thrown away after Halloween in the UK alone, and when food waste goes to landfill it breaks down without oxygen and releases methane, which the EPA has been measuring directly at landfill sites.
I’m not telling you to skip carving. We carve 1 with the children, and the rest stay whole and get eaten.
Keep them off a heated windowsill and wipe them dry once a week, they’ll last twice as long.
3. Hang a garland of dried orange slices and bay leaves
What you need: 3 oranges, a baking tray, bay leaves, cotton string, a needle.
Slice the oranges thin, blot them well, and dry them in the oven at 90 degrees Celsius for around 3 hours with the door slightly open. Then thread them onto the string with the bay leaves between them.
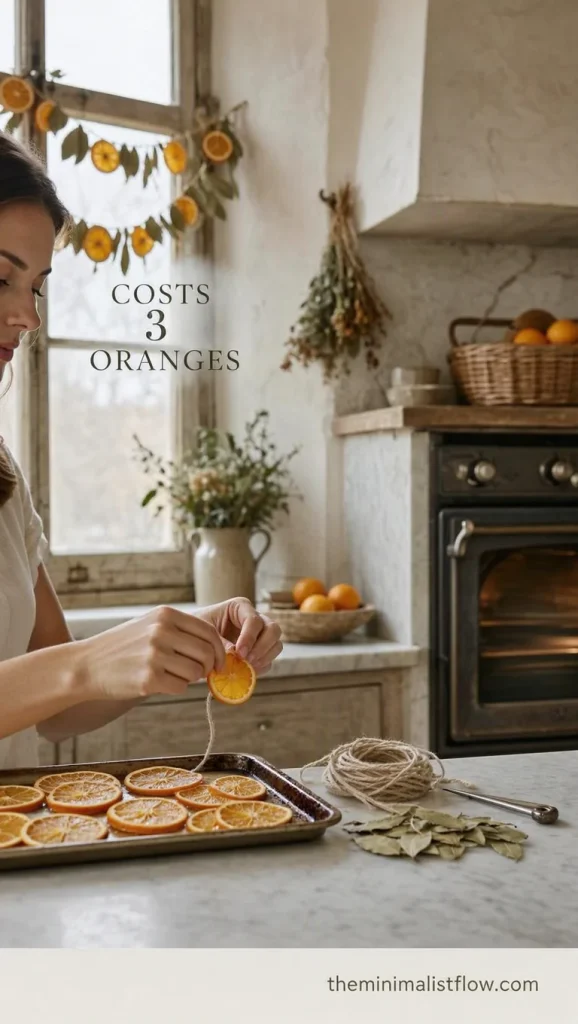
The house smells incredible while they dry. That’s half the reason I do it.
It works with kids too, though the needle part stays with the adult. My daughter lines up the slices and decides the order, which takes far longer than the drying.
Honest bit, they do fade. We’ve made these for Christmas for years, so I know that by the second winter they turn from bright orange to a dull brown.
The old ones go on the compost and I make a new string. It costs the price of 3 oranges, so I never mind.
Make double the amount and hang the second string in the kitchen, it carries you right through to Christmas.
4. Put black taper candles in the holders you already own
What you need: black taper candles and the candlesticks in your cupboard.
This is the fastest change in the whole article. Take out the cream candles, put in black ones, and the room reads as Halloween without a single pumpkin in sight.
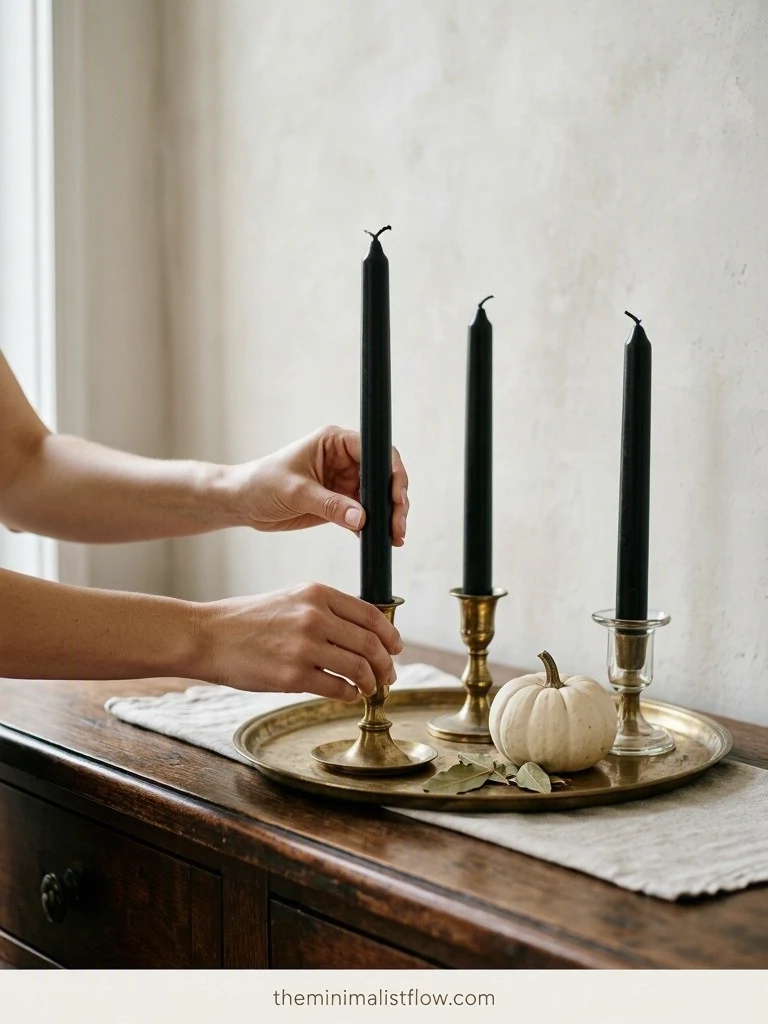
I love this one because nothing new enters the house except wax. The holders are the ones we use all year round.
Black taper candles come in packs of 12 and burn for several evenings each, so one pack usually covers October and half of December as well.
Keep them well away from curtains and paper. The NFPA has plenty to say about candles in the home, and a real flame behind a paper bat is a bad plan.
If you have small children or a cat that walks on the table, use flameless candles with a timer instead. Ours come on at 6 pm by themselves and I stopped thinking about them completely.
Group 3 candles of different heights on one tray instead of spreading them around the room, the grouping does the work for you.
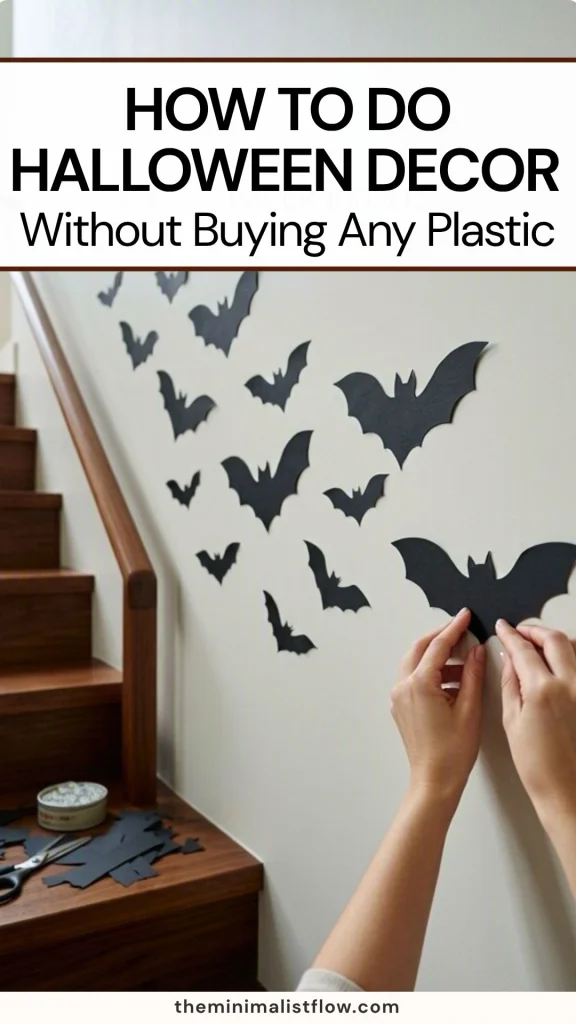
5. Cut a wall of paper bats from black cardstock
What you need: black cardstock, scissors, removable adhesive putty.
Draw one bat, cut it out, and use it as the template for the rest. About 15 bats is plenty for one wall, and they work going up the stairs or across a mirror.
This is the project my son actually enjoys, because it’s quick and it looks good from the doorway.
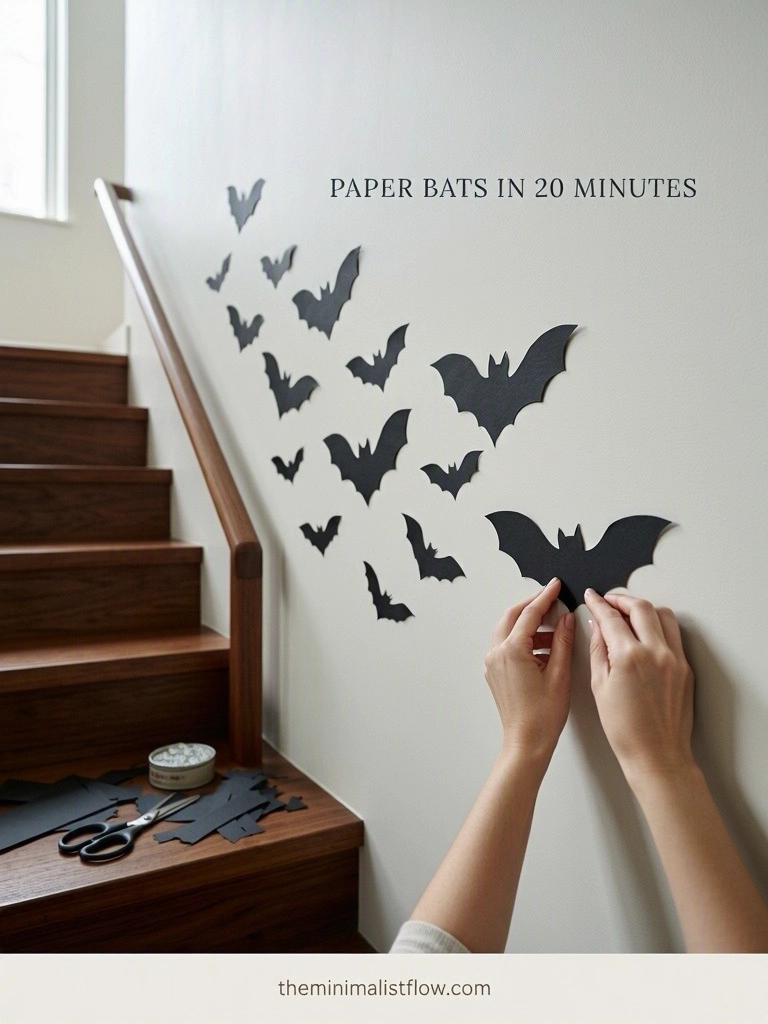
Use putty, never tape. Tape takes the paint off with it, and I learned that the expensive way.
Slide them into a flat envelope afterward and they’ll be fine next year. Paper lasts much longer than people think when it’s stored flat.
There’s a real reason a project like this feels better than something bought. The study behind what psychologists call the IKEA effect found that people put a higher value on things they built themselves, and children are no different.
Cut 3 sizes from the same template and put the smallest ones highest up, the wall gets depth straight away.
6. Swap your cushion covers instead of buying new cushions
What you need: 2 or 3 cushion covers in black, cream or rust.
Storing covers is easy. Storing whole cushions is how a closet fills up and stays full.

I keep 3 dark covers in a drawer and they go on the couch for the whole of October and November, so they earn their space twice over.
Look for cotton or linen in a plain weave. Anything with a printed pumpkin on it is a 1 year decoration, and you’ll feel silly about it by next fall.
If you’re not sure which colors sit well together, I went through this properly in my post on throw pillow combinations that actually work.
Wash and fold them in the same week you pack the pumpkins away, then they’re ready without a thought next October.
7. Fill the glass jars you already own with acorns and chestnuts
What you need: clean jars, a walk outside, a basket.
We do this walk in the last week of September every year. The children collect, I carry the basket, and the whole thing costs nothing.
Acorns in one jar, chestnuts in another, dried corn kernels in a third. Line them up on a shelf and you have autumn decor with a Halloween lean.
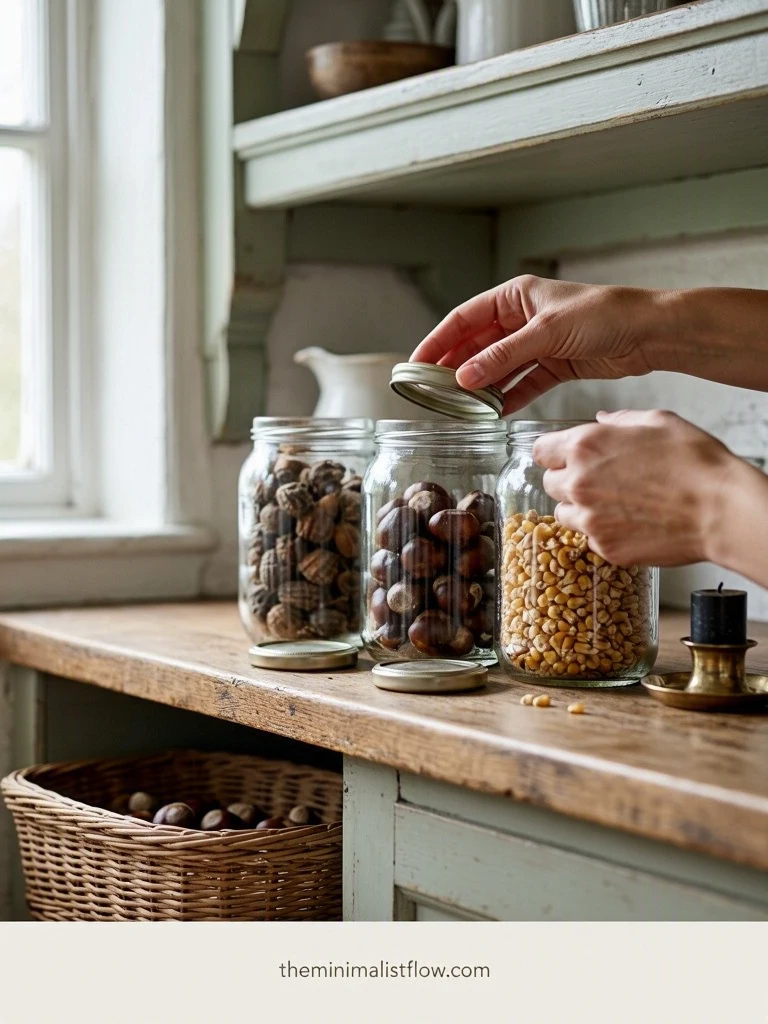
Freeze the acorns for 48 hours before they come inside. Otherwise you get tiny beetles in the kitchen in November, and I’m saying that from experience.
The jars go back to being jam jars in the spring. Nothing gets bought and nothing gets thrown out.
Stand 1 short black candle next to the jars and the shelf turns from autumn into Halloween in a second.
Americans spent 4.2 billion dollars on Halloween decorations alone last year, out of 13.1 billion in total, and 78 percent of shoppers bought something for the house or the yard. That’s about 114 dollars per person, and most of it is plastic that lasts one season.
Outdoor Halloween Decor Ideas for the Porch and the Path
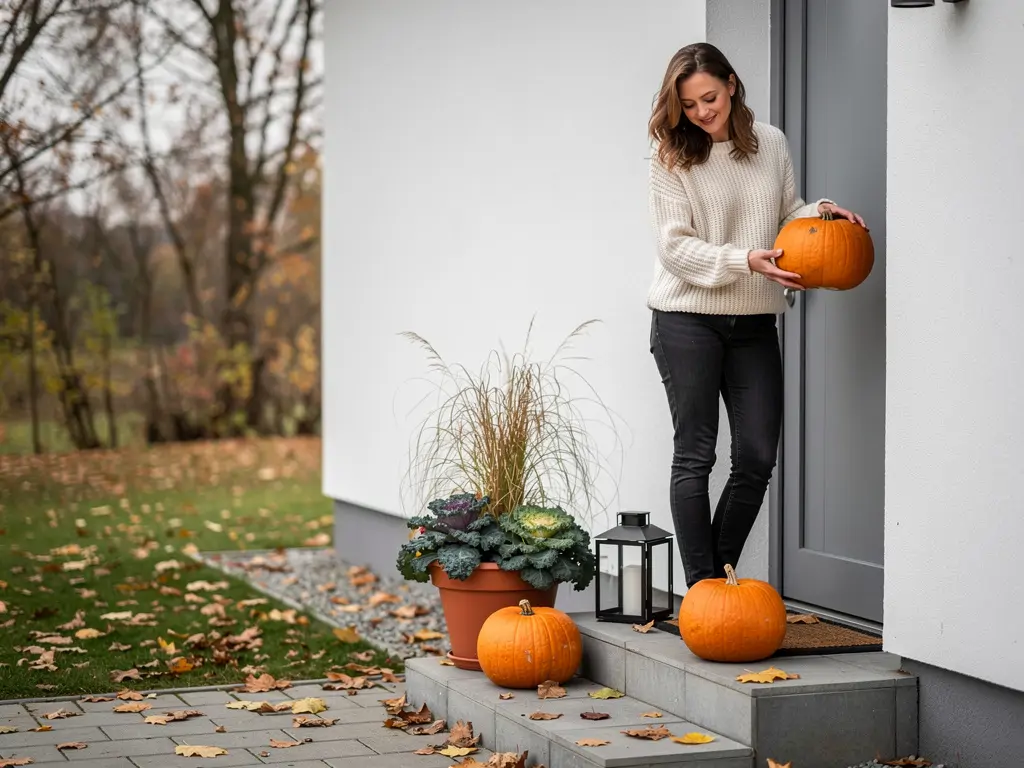
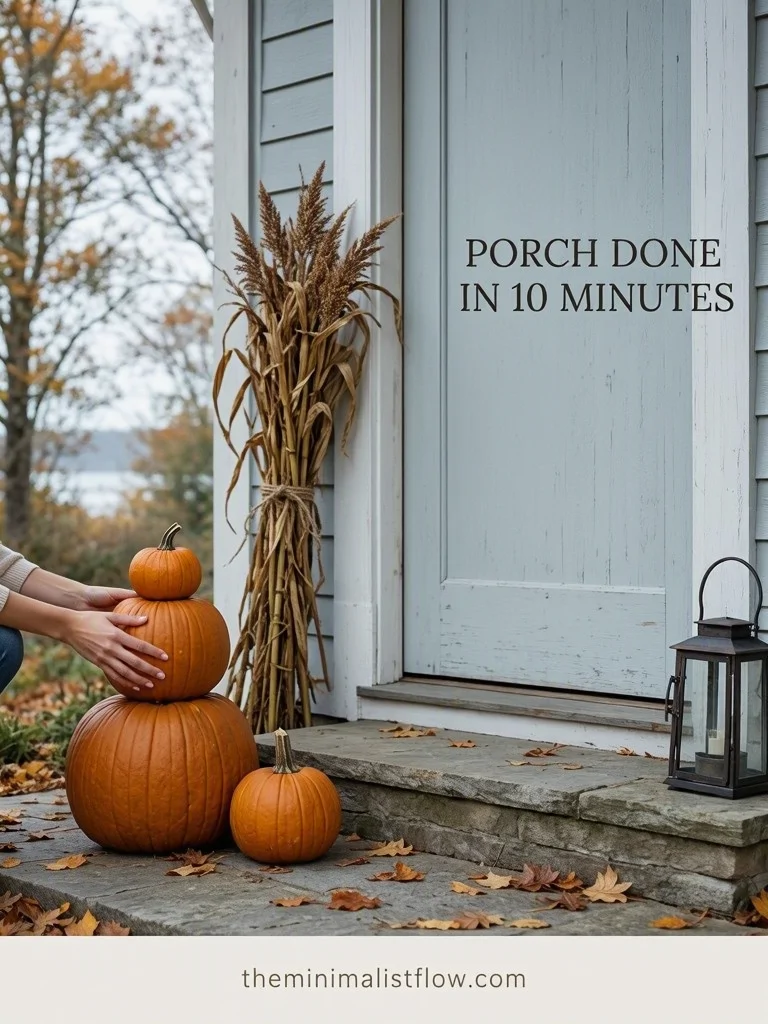
8. Build a doorstep pile from pumpkins, corn stalks and a lantern
What you need: pumpkins in 2 or 3 sizes, dried corn stalks, one lantern.
Stack the pumpkins on the step, lean the corn stalks against the wall, put the lantern on the other side. That’s the entire arrangement.
It looks generous and it takes 10 minutes. Ours goes up on the first weekend of October and stays until the middle of November, because it works for Halloween and it still works after it.
Buy the pumpkins from a farm stand if you have one nearby. They’re cheaper, they’re fresher, and they hold up far longer than the ones that have been sitting under supermarket lights for 3 weeks.
The corn stalks go on the compost heap afterward, along with the pumpkins.
Set the biggest pumpkin to one side of the door rather than in the middle, the whole pile looks less staged that way.
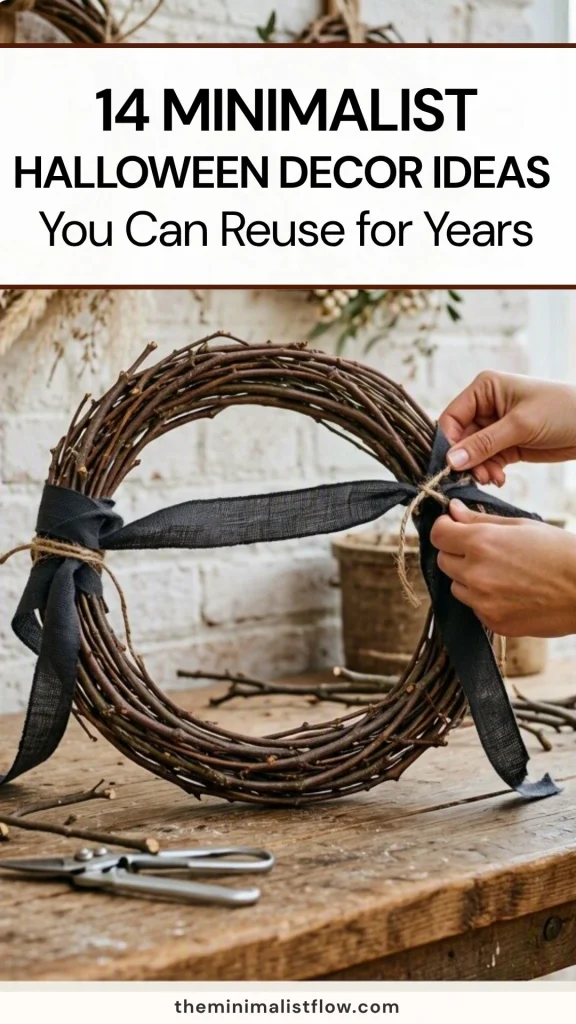
9. Wrap a bare twig wreath with a strip of black burlap
What you need: a twig wreath, burlap ribbon, garden twine.
If you have hazel, willow or birch in the garden, you can bend your own wreath in about 20 minutes. If you don’t, a plain twig wreath from a craft shop costs very little and lasts for years.
Wrap a wide strip of black burlap around one side of it, tie it off with twine, and hang it up. That’s the whole thing.
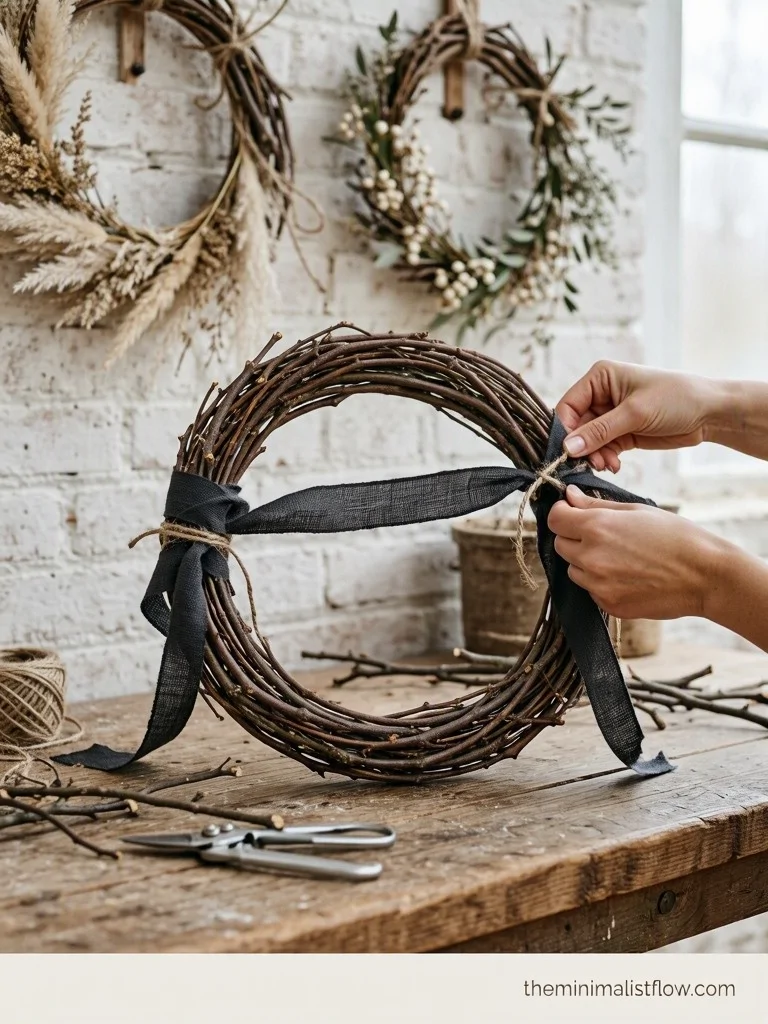
In November the black comes off and the same wreath goes back on the door bare for the winter. Mine has been through several winters now and it looks better than it did when it was new.
I’ll be honest, the first one I made was a disaster. The twigs were too dry and they snapped in my hands. Cut them fresh and bend them the same day.
Tie the ribbon off center rather than at the top, it stops the wreath looking like a shop display.
10. Turn jam jars into path lights
What you need: jam jars, sand or rice, LED tea lights, garden twine.
Fill the bottom of each jar with 2 centimeters of sand, drop a light in, and line them along the path or up the steps.
The sand holds the light steady and stops the jar tipping over in the wind. That’s the only trick to it.
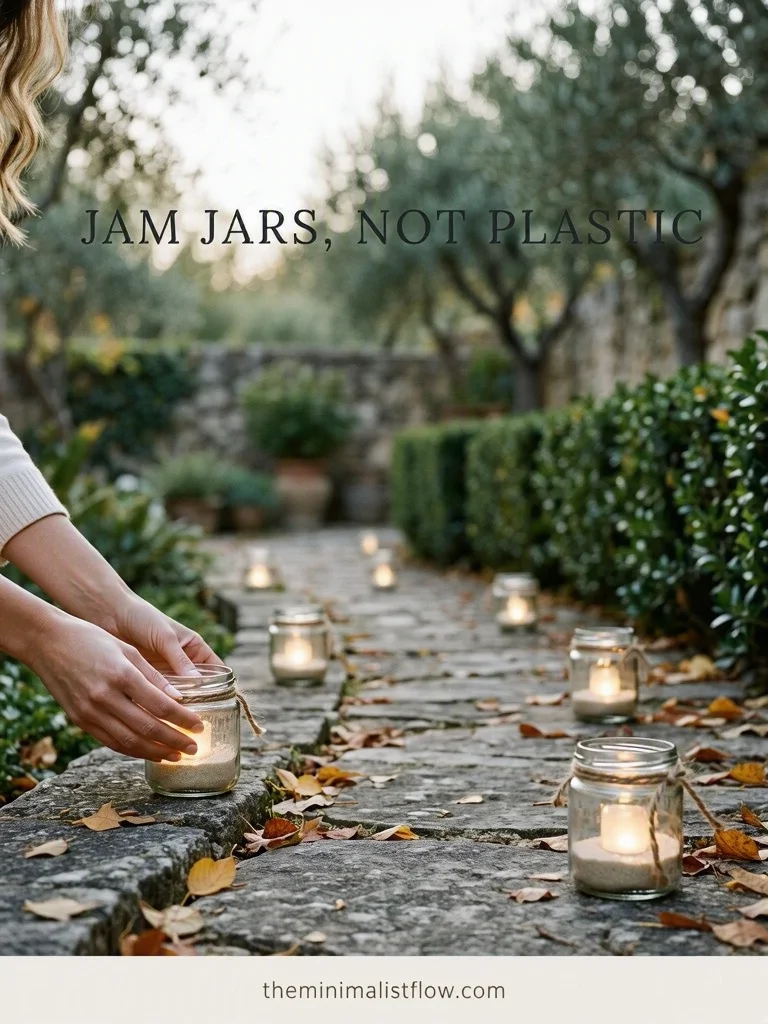
I use LED tea lights outside now. Real flames blow out within 20 minutes on a windy October evening, and then you’re standing in the dark with a lighter, which is not the cozy scene anybody pictured.
For a nicer finish, wrap twine around the neck of each jar. It takes 30 seconds per jar and it makes them look deliberate.
Space them further apart than feels right, about 1 meter, so the path glows softly instead of looking like a runway.
11. Hang solar string lights that come back out in December
What you need: one set of warm white solar string lights.
This is the one item on the list I’d tell you to spend real money on. The cheap sets die after a season and then you’re buying again, which is exactly what we’re trying to avoid.
Warm white, never orange and never color changing. Orange lights are a 3 week decoration. Warm white carries you through Halloween, through Advent, and around the patio in July.
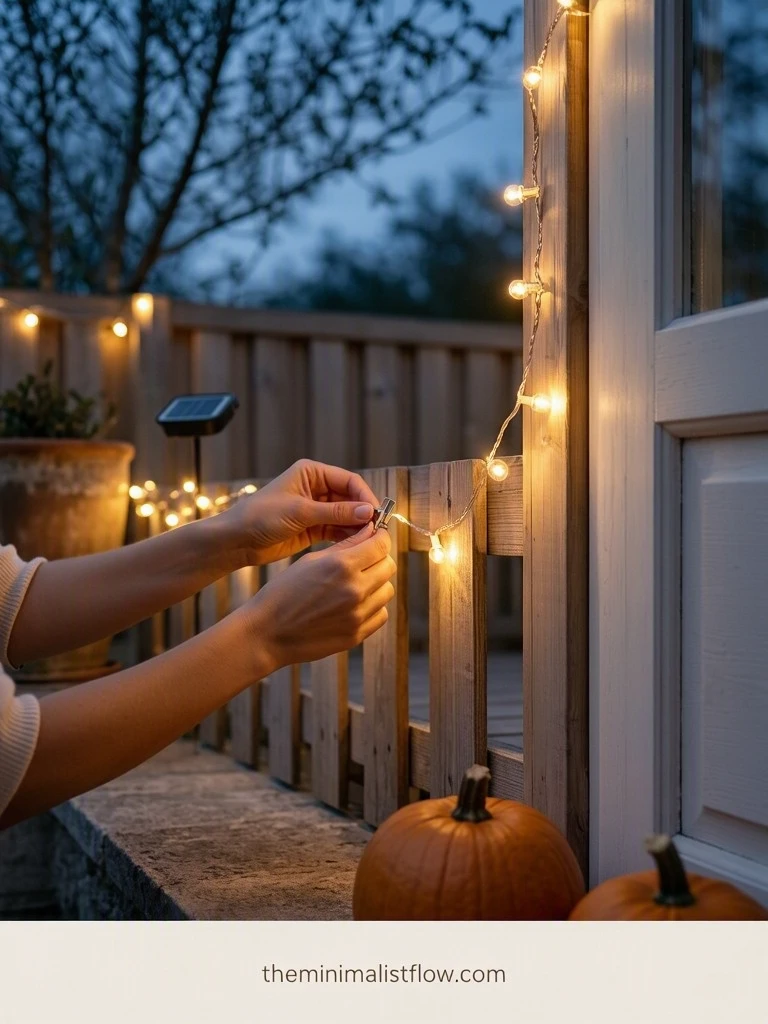
Ours run off a small solar panel pushed into a flowerpot, so there’s no cable across the terrace and nothing added to the electricity bill.
They go along the fence and around the door frame. If the lights are right you don’t need much else outside.
Charge the panel in full sun for 2 days before the first evening you want them on, they’re noticeably brighter after that.
12. Make ghosts for the tree from an old white sheet
What you need: an old white sheet or a pillowcase, string, tennis balls or crumpled newspaper.
Wrap a ball in the fabric, tie it at the neck with string, hang it from a branch. The wind does the rest.
This is my favorite thing we make, because it uses something that was heading for the rag pile anyway. If you have a sheet with a stain on it, it becomes the best ghost of the year.
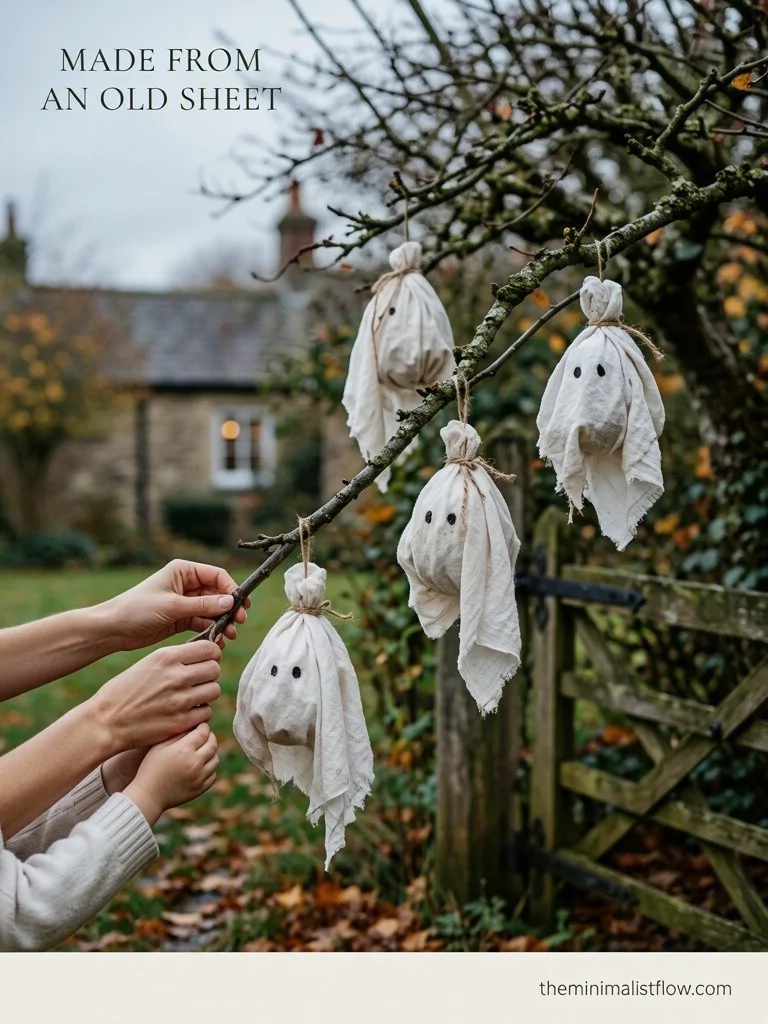
The children do these on their own from about age 5. They come out uneven and slightly lopsided, and that’s exactly why they look good from the street.
Bring them in when they get soaked, or they’ll go gray and mildewy by the next weekend.
If you like this kind of reuse, I wrote a whole post on old jeans reuse ideas that works on the same principle.
Hang one at eye level in a low branch near the gate so people notice it on the way past.
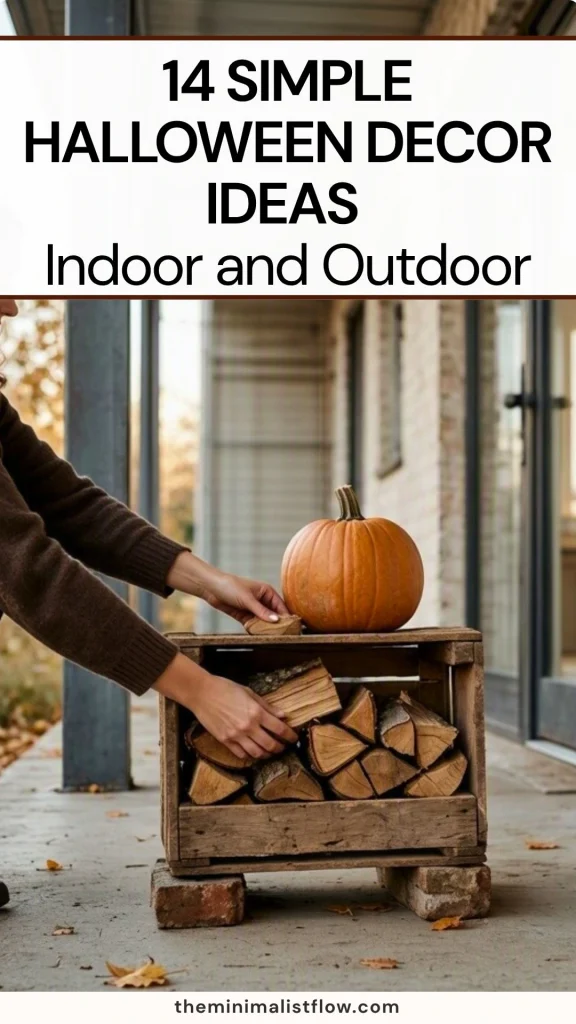
13. Stack a wooden crate and some firewood by the front door
What you need: 1 or 2 wooden crates, split firewood, a lantern or a pumpkin.
Turn a crate on its side, stack short logs inside it, put a pumpkin on top. It reads as autumn from 20 meters away and it costs nothing if you already have the wood.
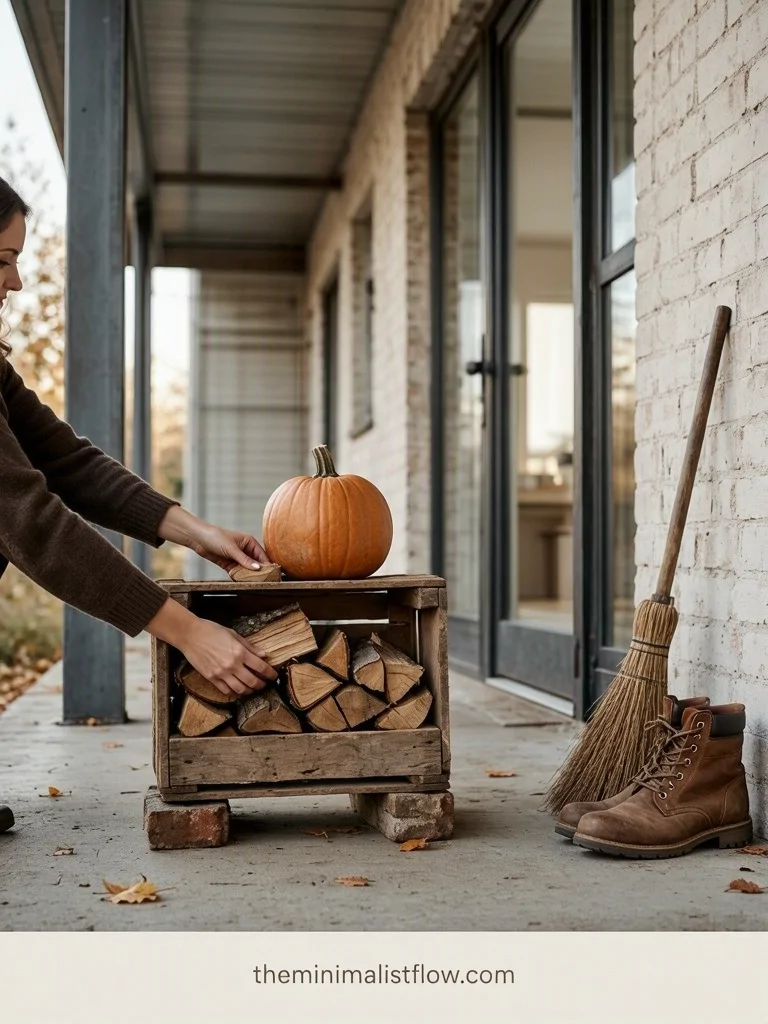
Ours sits by the door from October to February. The crate goes back to the garage in spring and holds garden tools.
Ask at a local market for the wooden crates the vegetables arrive in. Most sellers give them away for free, and they look better than the ones sold as decor.
Keep the wood off the ground on a couple of bricks so it stays dry and doesn’t stain the step.
Put a small pumpkin or a lantern on top and nothing else, a crate looks worse with every extra thing you add.
14. Plant one pot of kale, mums and ornamental grasses
What you need: a large pot, ornamental kale, chrysanthemums, one grass, potting soil.
One good pot beside the door does more than 5 plastic decorations, and it keeps going long after Halloween is over.
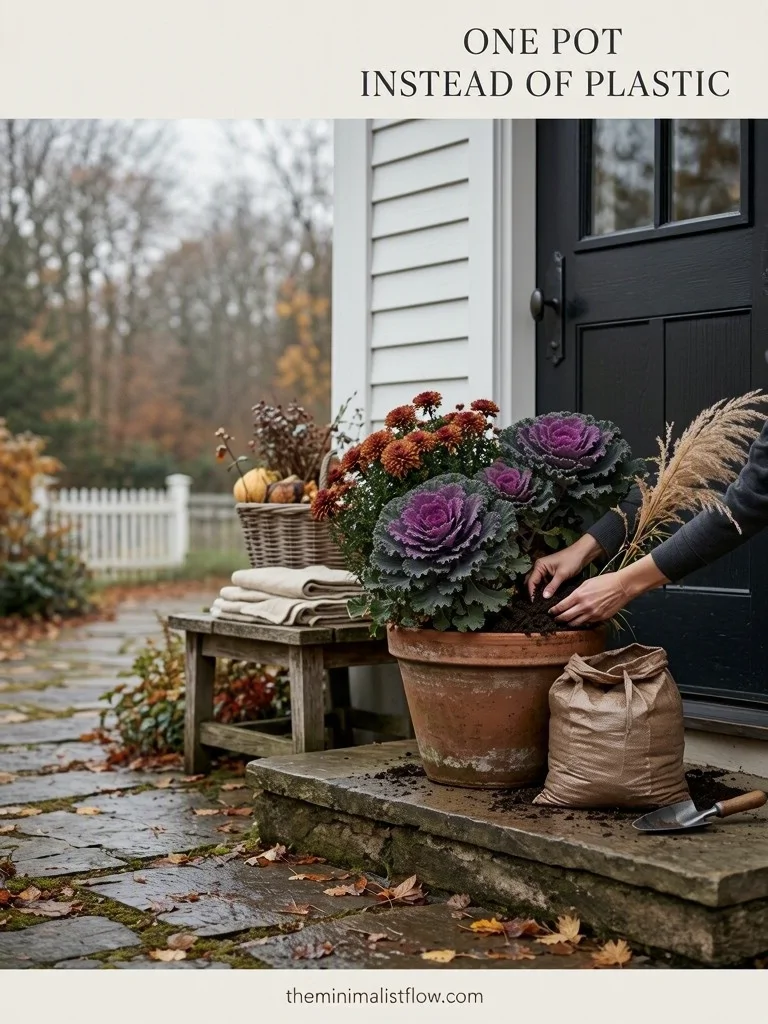
Ornamental kale actually looks better as the nights get colder. Mums flower well into November. The grass carries the pot through until the first hard frost.
Cost wise it lands close to a mid range plastic decoration, and at the end of it all this one goes on the compost heap instead of into a bag.
I plant mine on the last weekend of September. By the time Halloween arrives the pot has filled out and looks like it’s been standing there for months.
If plants are your thing, the same idea sits behind my post on minimalist flower home decor.
Water it once a week even in October, pots dry out much faster than people expect in autumn wind.

What Actually Works: Colors, Pairings and the Mistakes That Cost the Most
This is the part I worked out by looking rather than by buying, which turns out to be the cheaper method.
The color pairs that never go wrong
Black and cream. This is the safest pair on the list and it’s why the cheesecloth ghosts and the black candles sit so well in the same room.
Orange and natural wood. Pumpkins on a wooden board, a wooden crate, a bit of twine. Warm without being loud.
Dried brown and off white. Bay leaves, dried orange, a linen cushion cover. This is the quiet version of Halloween and it stays up until Christmas.
Warm white light and black. Solar lights against a black burlap wreath, or jar lanterns next to a dark front door.
The pair to avoid is purple and green together. It’s the combination every cheap plastic set uses, and it makes everything else in the room look cheap by association.
The mistakes that cost the most money
Buying anything with a printed face on it. A pumpkin face, a skull, a spider web print. You’ll be able to date the object to the exact year you bought it.
Buying decorations in a size you can’t store. If it doesn’t fold, stack or nest, it will end up in the garage on the floor and it will get broken there.
Carving all the pumpkins at once. Carve 1 and keep the rest whole. The whole ones stay good for weeks and then get eaten.
Buying a set. Sets look coordinated in the shop and then they can never be split up or mixed with anything else you own.
Buying colored lights. Warm white does everything and works for 3 seasons out of 4.
How to store it so it survives until next year
Everything soft goes in one lidded box. Cheesecloth ghosts, cushion covers, burlap ribbon, string.
Everything paper goes in a flat envelope, standing upright in the same box so nothing lands on top of it.
The candles go in a drawer inside the house, not in the garage. Heat and cold both warp them and then they won’t sit straight in the holder.
Label the box with the month, not the holiday. Mine says October to November, and that’s what stops me from buying things that only work for 1 week.
If your storage situation is out of hand generally, my post on storage bins you probably don’t need covers the container part honestly.
What’s worth spending real money on
The solar string lights. Buy once and keep them for years.
A good large pot for the door. Terracotta or plain concrete, no seasonal print on it.
A twig wreath base, if you can’t make one yourself.
Everything else on this list is either free, made at home, or costs the price of a few oranges.
QUIZ
Most of these ideas cost so little that the difference only shows up when you add the whole house together.
Move the two sliders below and see what your October actually costs, both ways.
Buy it or make it, the actual difference
The shop version and the homemade version look about the same on a shelf in October. The price is where they stop being the same. Move the two sliders to see yours.
You keep about $101 this October, and 8 pieces takes roughly 2 hours at the kitchen table. The homemade ones are also the ones the children ask for again next year.
Made at home is figured at about $1.40 a piece, the real cost of cheesecloth, 3 oranges, a sheet of black cardstock and a bag of sand for the jars. The jars, the old sheet and the twigs cost nothing at all.
My Honest Opinion About Halloween Decor
Halloween wasn’t part of my childhood at all. I grew up in a small village in eastern Hungary and nobody there had heard of it.
It’s only really arrived here in the last few years. Every October there are more children on the streets in the evening, going door to door for candy, and every year a few more houses join in.
Out where we live the decorating is still mostly the one thing. A pumpkin on the gatepost, carved, with a tealight inside it. When you walk home in the dark at the end of October you see them glowing one after another down the street.
I like it that way. It costs the price of a pumpkin and it looks better than most of what comes in a box.
New York was what changed my mind about the rest of it. Standing in the West Village last year I saw doorways that were genuinely clever, funny, put together with real care, and I could have looked at them all afternoon.
What stayed with me was how old most of it was. Battered lanterns, real pumpkins, wooden crates, fabric that had obviously been folded away and brought back out.
And here’s the part I’d argue about with the internet. Most halloween decor is designed to be unmistakable. Skeletons, spiders, fake blood on the window.
Unmistakable things get exactly 1 week of use per year.
Make your decor slightly ambiguous, pumpkins and candles and dried things and warm light, and the same objects give you 8 weeks instead. October, Halloween, the whole of November, and straight on into Advent.
That’s not a compromise. It’s just better value from the same box.
Go to the cupboard where your candlesticks live, take out whatever is in them, and put black candles in. It takes 2 minutes and your living room reads as October immediately.
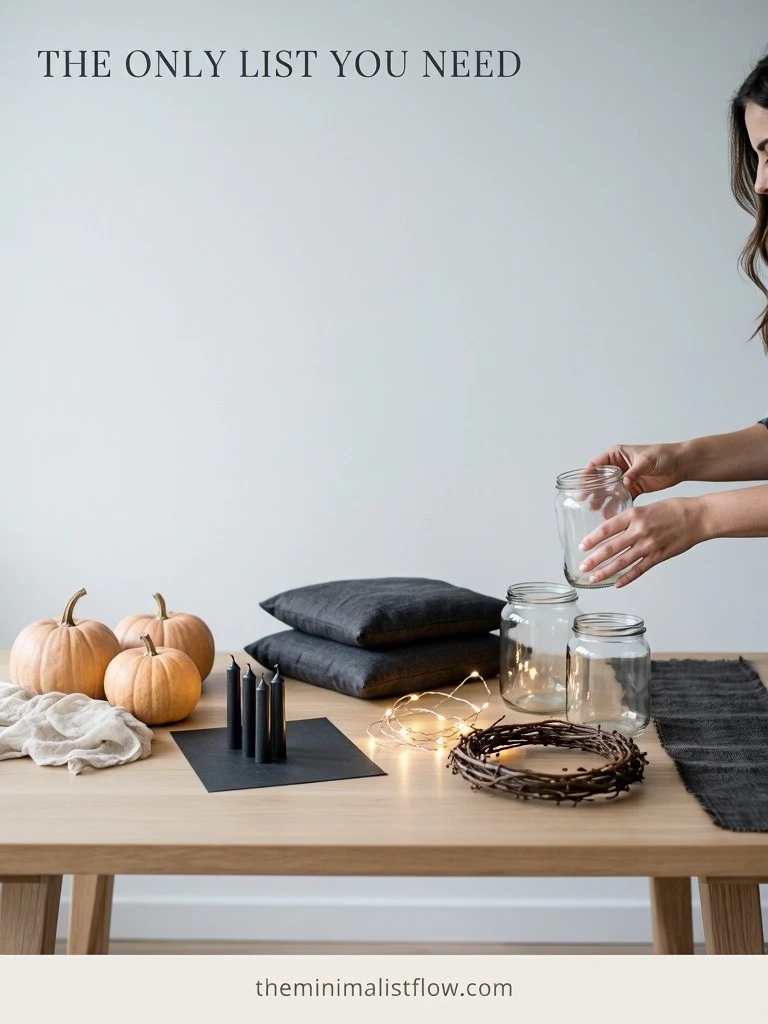
Saveable Halloween Decor Checklist
Print it, screenshot it, or keep it on your phone for the shop.
- 3 to 5 uncarved pumpkins in different sizes
- 1 pack of black taper candles
- cheesecloth and a small balloon for the ghosts
- black cardstock and removable putty for the bats
- 2 or 3 dark cushion covers in cotton or linen
- clean glass jars and a small bag of sand
- 1 set of warm white solar string lights
- a twig wreath and a strip of black burlap
- a large pot with kale, mums and one grass
- an old white sheet for the tree ghosts
Pin this so you have the list next October, instead of standing in the supermarket aisle deciding all over again.
Halloween Decor Questions Readers Ask
What’s the cheapest way to decorate for Halloween?
The cheapest halloween decor is the kind you make from things already in the kitchen. Cheesecloth ghosts, dried orange garlands, jam jar lanterns and paper bats together cost under 15 dollars for a whole house. Real pumpkins are the only recurring cost, and you eat those afterward, so the money goes into dinner rather than into a bin bag.
How do I make halloween decor that isn’t scary for small children?
Halloween decor stops being scary when you drop the faces. Ghosts with 2 dots instead of a mouth, pumpkins left uncarved, warm white lights instead of flickering red. My 6 year old walks past ours without a single glance, which was the whole aim.
How long do real pumpkins last on the porch?
Uncarved pumpkins last 6 to 12 weeks outdoors in cool autumn weather, which easily covers October and November. Carved ones collapse in about 5 days once the flesh is exposed. Keep them off wet ground, out of direct afternoon sun, and wipe any moisture off the skin once a week and you’ll get the longer end of that range.
Is it worth buying halloween decor in the November sales?
Buying halloween decor in the November sales only pays off if you’d have bought the item anyway. A discounted plastic set is still a set you’ll throw away. What’s genuinely worth catching at 70 percent off is the boring, reusable end of the shelf, plain candles, storage boxes, warm white string lights and terracotta pots.
What can I use for outdoor halloween decor without a porch?
Outdoor halloween decor works on a balcony or a doorstep just as well as a porch, it just gets smaller. One large planted pot, a wreath on the door, and 3 jar lanterns on the floor are enough. If you rent, everything on this list attaches with twine or sits on the ground, so nothing goes into the wall.
How do I store Halloween decorations so they survive the year?
Halloween decorations survive best in one lidded box stored indoors rather than in a garage or a shed. Soft things go in together, paper stands upright in a flat envelope, candles go in a drawer where they won’t warp. Label the box by month rather than by holiday, and you’ll find yourself using the contents for longer each year.
What should I do with the pumpkins after Halloween?
Pumpkins should be eaten or composted, never binned. An uncarved one is still perfectly good food, so it becomes soup, roasted wedges or a pie, and the seeds toast in the oven with salt. A carved pumpkin has gone too far to eat, but it breaks down on a compost heap in a few weeks and feeds the garden instead of a landfill.
Can I use the same decor for Thanksgiving and Christmas?
Most of this halloween decor carries straight through to Thanksgiving and beyond, which is the whole point of choosing it this way. The pumpkins, the wooden crate, the dried orange garland, the planted pot and the warm white lights all stay. Only the black burlap on the wreath and the paper bats come down at the start of November.
Which halloween decorations are actually worth spending money on?
Warm white solar string lights are the one halloween decoration worth paying properly for. A cheap set fails within a season and gets replaced every year, which costs more over 5 years than one good set. After that, a large plain pot and a solid twig wreath base are the only other things I’d spend on.
How do I get my kids involved without ending up with a mess?
Kids do best with the halloween decor projects that have a clear physical job in them. Draping cheesecloth over a balloon, lining up orange slices, tying string around a tennis ball. Set them up on a tray so the mess has a border, give them the whole job rather than a supervised piece of it, and the results will be lopsided in the best way.
Recommended Reading
If you want more of this approach, start with why I stopped buying new patio decor, which is the outdoor version of the same argument.
Then there’s what a minimalist birthday party really teaches kids about enough, for anyone who finds the celebration part harder than the decorating part.
And if the whole season feels like too much, slow living in fall and winter has 15 gentle habits that helped me more than I expected.
The best thing in our house this October won’t be the one that looks the most impressive. It’s a lopsided cheesecloth ghost my daughter made, with one eye much bigger than the other.
It goes back in the shoebox in November and it comes out again next year. Nobody would put it in a magazine.
But she’ll go looking for it, and that’s a better return than anything I could pick up in a supermarket aisle.
Which of these 14 ideas would work in your home this October? Tell me in the comments if you feel like it.
You May Also Like
-
Fall Decorations 2026: 24 Pieces You’ll Still Love Ten Autumns From Now
Fall decorations 2026 should still look good in 2036, or what’s the point? Here are 24 pieces you can buy once or make yourself, plus the color pairs, the mistakes and the storage habit that keep them out of the landfill.
-
Email Overload: What Happened When I Checked Email Twice a Day
Email overload is not a scheduling problem, it is an opening problem, and I only understood that after I cut down to twice a day. Here is what actually changed at home and at work, the frustrating part nobody mentions, and a 5 week plan to get there without panicking.
-
Slow October: How to Actually Enjoy the Season
A slow october is not a project, it’s a handful of small decisions you make before the month starts. Here are 10 of them, plus the mistakes that quietly ruin an entire autumn.